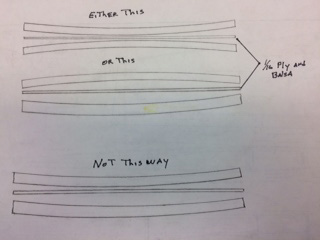
| Most
kits and plans will tell you to glue a bunch of
sheets together and make a diagonal cut to fit the
wing. But I feel that by doing this you would end up
with end grain trying to conform to the shape of the
leading edge especially on a wing with a tapered
leading edge. The way I have done it for a number of
years is to run a sheet parallel to both the leading
and trailing edges. Use softer sheets for the L.E.
and a bit harder for the T.E. The center is
completed by running sheets parallel to the trailing
edge for the top skin and parallel to the leading
edge on the bottom skin. This cross graining gives
you a ply wood effect and helps prevents warping. |
 |
| When
gluing the sheets together be sure to trim the edge
of the sheets and edge sand them before gluing. |
 |
|
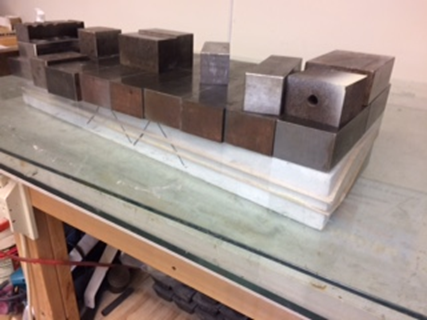
Vacuum the cores to remove debris and dust.
I use FOAMING Gorilla Glue to attach the skins to the
cores. Spread the glue sparingly on
the balsa skins only. Here are my steps.
- Glue TOP skin on first. Add the top shuck
and pin in place through the shucks, sheeting
and into the core with T pins so nothing shifts.
-
Flip the wing over. Glue in the landing gear
block and supports with Gorilla glue then glue
on the bottom skin, add the shuck and pin in
place.
- Weight it down and let it dry overnight.
- I do each wing half separately instead of
stacking two together.
NOTE: Be sure that you have a flat
surface to work on. I have a bench with a ½” thick
glass surface. Then I place a piece of ¼” glass on
top of the core sandwich with lots of weight.
I have gathered steel blocks that I use for weight
over the years.
|
 |
|
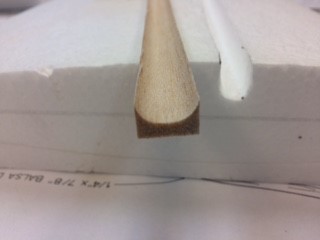
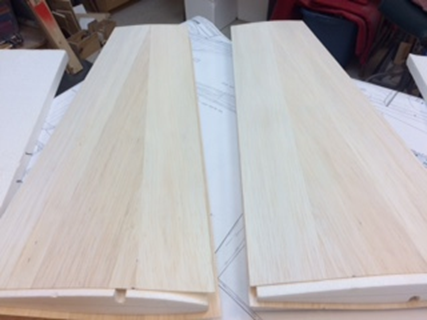
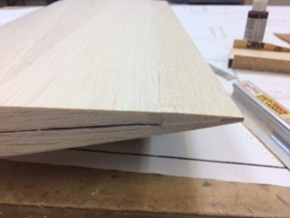
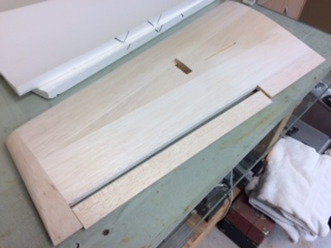
Trim the sheeting to the cores. Glue on the
leading and trailing edge stock. I use Titebond but
epoxy is good too. Wipe off any excess glue and hold
everything in place with masking tape while it
dries.
When the glue is
dry, sand LE & TE flush with the root and tip of the
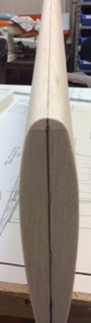
wing. Now draw a
center line on the root and tip, and then transfer
it to the leading and trailing edges. These center
lines help in a number of ways; first they will help
when shaping the leading edge and second they give you a straight line
on the trailing edge to locate the aileron hinges.
|
  |
|
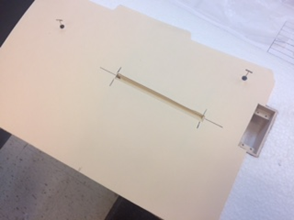
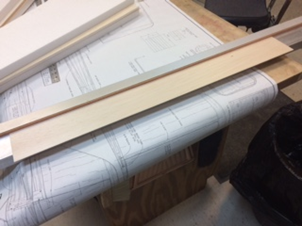
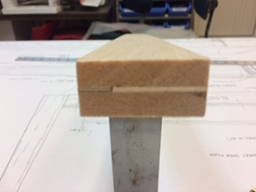
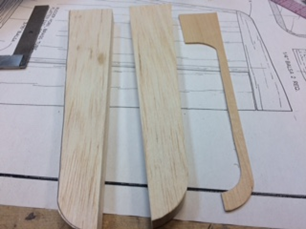
Now that part is done and it’s time to make the
ailerons. Measure the thickness of the trailing edge.
Let’s say that it’s ½”; cut four pieces of ¼” balsa
wider and longer than the finished size. Cut a piece
of 1/16” ply about ½” wide the same length as the balsa
stock you cut. Now is the time to use some of the
small pieces of 1/16” balsa left over from the wing
skins. Cut them so that the grain runs 90°(Perpendicular) to
the aileron hinge line. On a flat surface, glue this
entire sandwich together at one time using Sig
polyester glass resin or slow curing (30 minute)
epoxy and add weight. Trim to width, making sure the balsa side is
square.
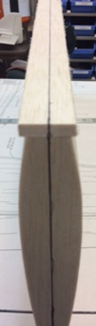
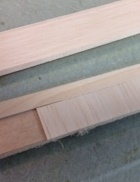
NOTE: if the wood is bowed, put
the bowed pieces opposite each other when assembling
the aileron - see drawing at right. This will result in a flat aileron.
|
 |
|
Most models don’t have full length ailerons, so
mark the location of the area that will become part
of the wing. Glue balsa side of that area to the trailing edge and tack glue the aileron area. Use the
center lines to align it. Use a block plane and
sanding block to shape the aileron. Do not cut aileron
free yet.
|
|
|
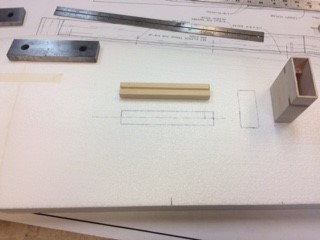
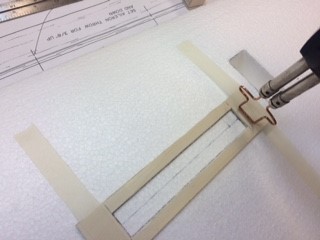
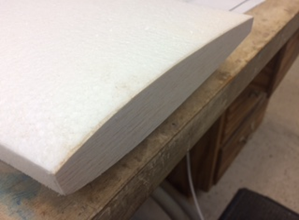
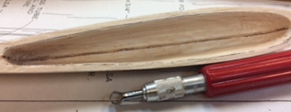
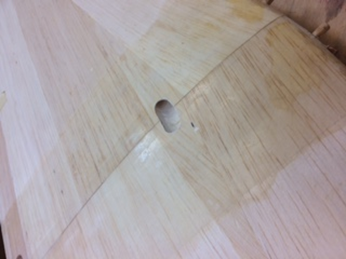
Now lay up the wing tips using a 1/16” bass wood
core. The basswood is cut to be a guide for later
hollowing the completed tip - see photo.
Glue together - thick CA works well here.
|
 |
|
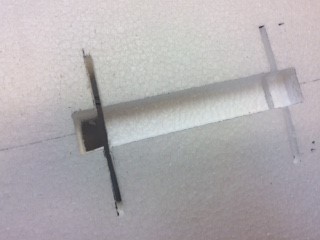
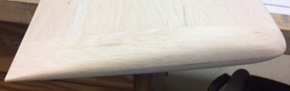
Tack glue the wing tip to the wing using the center lines as
guides and shape. Break tips off and hollow out.
Glue tips to the wing with thin CA.
|
 |
|
Cut the aileron free and trim
to get proper spacing. Locate and cut hinge slots in
wing and ailerons. Shape aileron leading edge
chamfer. To keep a nice sharp edge, cap the ends of
the ailerons with 1/32” bass wood.
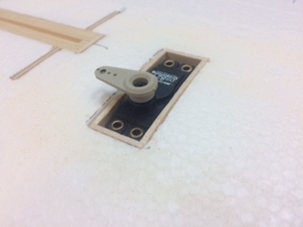
Using the template that you
made earlier, remove the sheeting from the servo
boxes and landing gear area on the bottom of the
wing. Don’t forget to notch the groove for the servo
leads to exit on the top of the wing.
|
 |
|
Sand the root to obtain the proper dihedral
angle. Glue wing halves together with epoxy. Check
the alignment both visually using the center lines
and with an incidence meter to ensure that the
incidence of both wings is the same. When cured,
sand the root area to smooth out any mismatch in the
sheeting. Next reinforce with fiberglass cloth.
Instead of one piece, I use two pieces overlapping
them in the center by about 1”. Sand smooth and fill
any small nicks with filler and sand out. If all
looks good you’re ready to cover.
|
 |