The weather threw us a lot of
curves last weekend at Asheville. It was chilly and
cloudy, and the GUSTY winds made every landing an
adventure. My 2nd Round landing was a mis-adventure - I
ran off the end of the runway - and knocked the left
landing gear block loose from the foam wing of my Daddy
Rabbit. I
thought it might be helpful to some to see how I repaired
it. This is basically the same process that I've used to
reinforce landing gear mountings in foam wings for 20+
years.
The tools I used are pretty simple.
Here's the process.
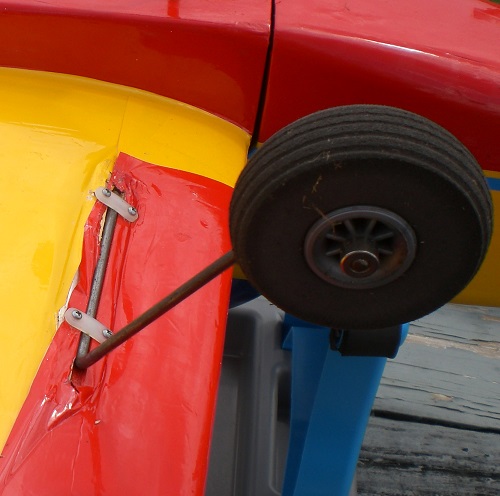
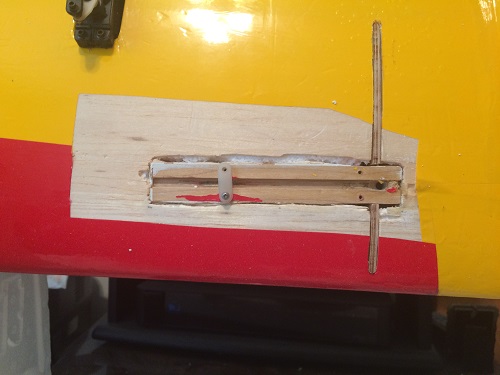
| This is the left side gear
leg with the gear block knocked loose from the foam
wing structure. It's really a lot looser than it
looks. |
 |
Here's the gear block after
removal from the wing. It came out very easily.
I left the gear leg attached
to provide leverage if it is stubborn,
then got it out of the way. |
 |
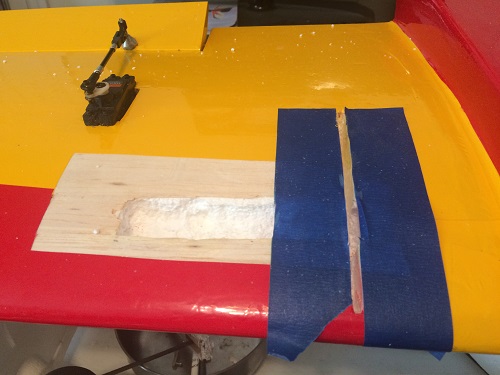
| Blue painters tape is used to
mark the location to cut through the bottom sheeting
and foam to the top skin of the wing to install a false
rib for reinforcement. I used my "Dremel" tool with a
large cutoff wheel to make the initial cuts. It goes
much faster that way. Final cuts were made using an Xacto knife with a long
blade. The excess foam is then dug out with whatever
is handy. I used the #1 Phillips screwdriver I had
on the bench. |
 |
| False rib template being created from
1/8" balsa. It's cut and sanded to fit the
slot I just cut in the wing. It needs to fit snugly
against the top wing sheeting. |
 |
| Here's the balsa template. |
 |
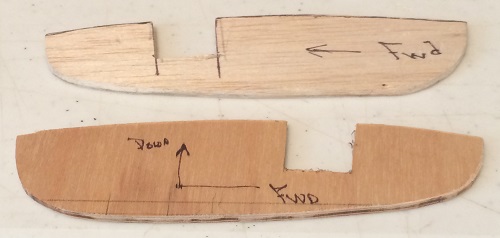
A quick trip to the scrap
box produced a sheet of 1/8" 5-ply birch plywood. A
couple minutes on my trusty band saw and voila! The balsa template
(top) and the plywood false rib (bottom) cut
to rough shape.
The orientation markings are leftovers
from 26 years of working for Boeing. |
 |
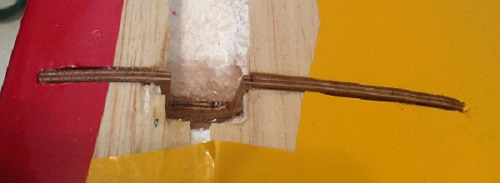
| I then ground the old
epoxy and foam from the area where the gear block
will mate with the false rib. |
 |
|
Sanding the false rib to shape and fitting it to the
gear block for a nice, snug joint. |
 |
| Dry fitting the parts into
the wing to be certain everything fits. |
 |
| False rib epoxied in
place. |
 |
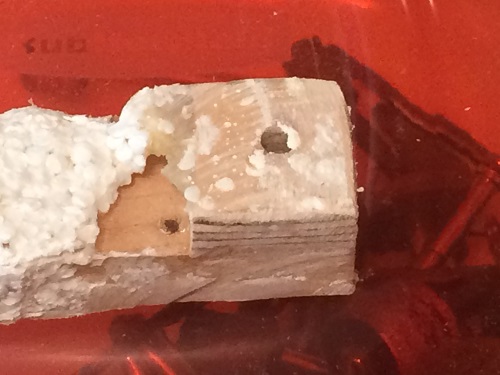
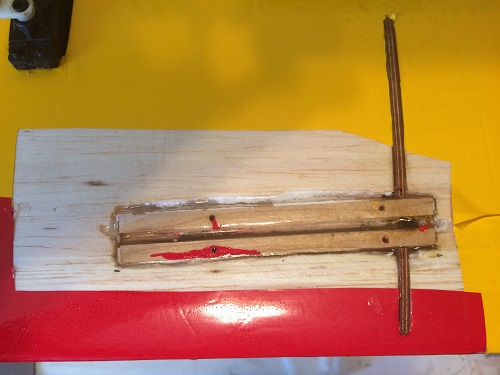
Gear block glued in with
PLENTY of epoxy. Make sure it's runny enough to
fill in ALL the little cracks and crevices in the
foam.
I'll drill out the landing gear wire hole and the
hold down screw holes to clear them of epoxy after
everything cures. The wing will be ready to recover
as soon as the epoxy cures and a little filling is
done. |
 |
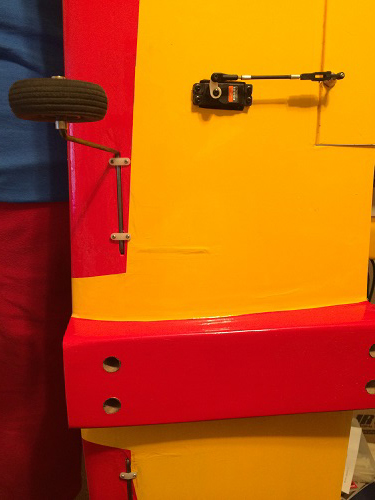
| Back in business and
stronger than ever. It's not perfect, but it's 100%
functional, which is good enough for me. |
 |